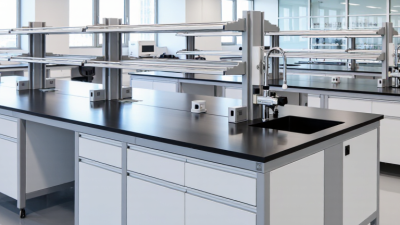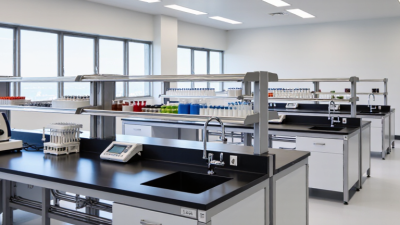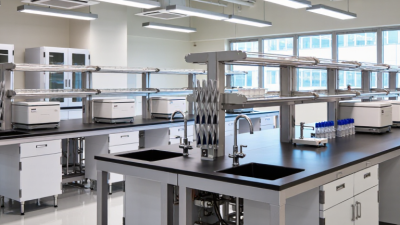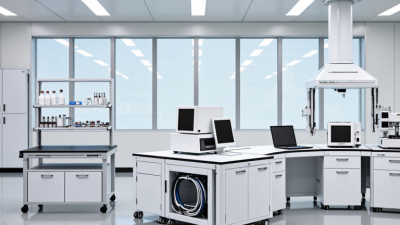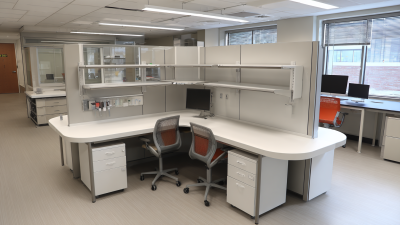
A Laboratory Desk is not merely a place to set down a notebook. It shapes how people handle samples, instruments, and everyday tasks. A teaching lab may need open, sturdy benches; a testing room may need surfaces that tolerate frequent cleaning. One design does not suit every room. Details matter.
Architect Louis Sullivan’s principle, “form ever follows function,” offers a useful lens for choosing laboratory furniture. Applied to a Laboratory Desk, it means matching its construction and layout to the work—not choosing by appearance alone. Consider the expected load, available space, storage needs, and compatibility with the room’s services. Small details count: a cable opening, an adjustable foot, or a drawer that clears nearby equipment can make a real difference. They can also be overlooked.
This guide presents ten Laboratory Desk options for different laboratory settings, from compact work areas to more demanding setups. Each option deserves a closer look at its materials, dimensions, cleanability, and stated load capacity. Manufacturer specifications should be checked before purchase, since product features and suitability vary. A desk that looks ideal in a catalog may feel cramped once instruments arrive. That is worth remembering. The best choice is rarely the most impressive one; it is the desk that supports the work reliably, fits the room, and leaves enough space for people to work safely and comfortably.
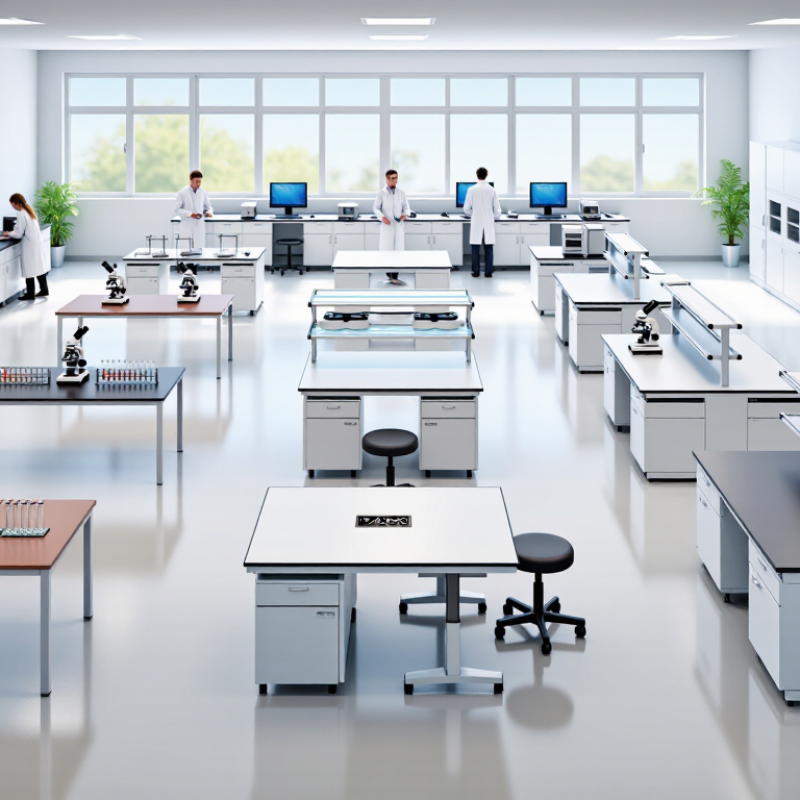
A laboratory desk should match the work performed at it, not just the room’s layout. A writing station needs a stable surface, clear lighting, and space for notebooks or a computer. A bench used for instruments may need extra depth, cable access, and a surface compatible with routine cleaning. For wet or chemical work, check material compatibility and facility guidance before choosing a finish. No desk suits every task.
Tips: Measure equipment footprints, including cords and doors that swing open. Check the required load capacity. Keep frequently used tools within easy reach, and leave enough clear space for safe movement. Small details matter.
Storage, seating, and utilities also shape how a desk functions over a full shift. Drawers can reduce clutter, but they may be less useful than open shelving for bulky supplies. Adjustable seating helps different users work comfortably; still, one adjustment range may not fit everyone. I have seen tidy layouts become awkward once real equipment arrives. Sketch the setup, then test it with actual tools before committing. A little revision is normal.
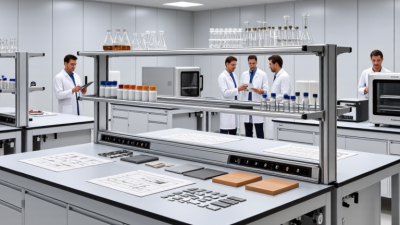
A laboratory desk should be assessed against the work it will support, not appearance alone. Begin with the expected load: instruments, samples, and daily-use supplies can strain a shallow or flexible worktop. Check the frame for wobble, and consider whether drawers or shelves obstruct seated work. Small details matter.
Material compatibility is another key criterion. The surface should tolerate the substances, heat, and cleaning methods used in that specific laboratory. Ask for documented resistance data rather than assuming a smooth finish is suitable. Sealed joints and rounded edges are easier to wipe, while damaged coatings can trap residue. Even so, no surface is maintenance-free.
Ergonomics and services shape everyday usability. Compare desk height with users’ tasks, and check that stools fit beneath the frame. Look for safe, accessible routes for power and other required connections; cables should not cross walking paths. Storage should keep frequently used items within reach without crowding the work area. It is easy to overvalue built-in drawers, yet they may limit legroom or future layout changes. A careful evaluation should include the room’s cleaning routine, equipment footprint, and plans for growth. The best design is not always the most feature-rich one.
Compare these common laboratory desk designs by intended use, worktop, typical depth, and practical selection criteria. Dimensions are indicative planning ranges; confirm site requirements, product specifications, and rated loads before purchase.
| Desk design | Best suited to | Common worktop options | Typical depth | Key evaluation criteria | Main advantage |
|---|---|---|---|---|---|
| 1. General-purpose bench | Teaching, sample preparation, and routine laboratory work | Chemical-resistant laminate, epoxy resin, or stainless steel, selected for the task | 600–750 mm | Balance usable area, cleanability, chemical exposure, and under-bench storage needs. | Versatile layout for changing workflows |
| 2. Chemical-resistant bench | Work involving routine contact with chemicals or frequent wipe-downs | Epoxy resin, phenolic resin, or another surface verified for the specific chemicals used | 600–750 mm | Check chemical compatibility, edge details, seams, and cleaning-agent resistance. | Surface can be selected around documented chemical exposure |
| 3. Analytical balance station | Precision weighing and other vibration-sensitive measurements | Rigid bench with a separate stone or other purpose-designed balance platform where required | 600–750 mm | Assess vibration, floor stability, nearby foot traffic, drafts, and instrument requirements. | Supports a stable setup for precision weighing |
| 4. Wet-laboratory bench | Areas requiring sinks, water access, or routine handling of liquids | Epoxy resin, stainless steel, or another surface suitable for the expected moisture and chemicals | 600–750 mm | Plan sink position, splash zones, drainage, service connections, and accessible storage. | Can integrate work surfaces with water services |
| 5. Mobile laboratory desk | Shared rooms, flexible teaching spaces, and tasks that need movable equipment | Laminate, stainless steel, or a task-appropriate solid surface on a mobile frame | 600–750 mm | Check caster locks, stability, floor transitions, cable management, and the rated load when moving. | Easy to reconfigure when the workflow changes |
| 6. Wall-side bench | Rooms where a perimeter work surface helps preserve central floor space | Material selected for the task, such as epoxy resin, laminate, or stainless steel | 600–750 mm | Consider wall services, reach distance, cleanable wall junctions, and access for maintenance. | Makes efficient use of perimeter space |
| 7. Island bench | Collaborative work and multi-user laboratory layouts | Durable surface matched to the work; service fittings may be integrated where appropriate | 1200–1500 mm overall, often with access from both sides | Verify aisle clearances, access on all sides, service routing, and safe circulation. | Provides shared workspace accessible from multiple sides |
| 8. Heavy-duty equipment bench | Large or heavy instruments and equipment requiring a robust support frame | Reinforced worktop or equipment-specific support surface | 750–900 mm | Confirm the bench’s rated load, load distribution, equipment footprint, and vibration requirements. | Designed around demanding equipment-support needs |
| 9. Microscope workbench | Microscopy, inspection, and other seated precision tasks | Rigid, easy-to-clean surface with space for the instrument and accessories | 600–750 mm | Evaluate stability, working height, lighting, legroom, and separation from vibration sources. | Supports a comfortable, stable precision-work position |
| 10. Instrument and computer bench | Laboratories using computers, monitors, or benchtop analytical instruments | Cleanable laminate or another surface compatible with the room and equipment | 600–800 mm | Plan power and data access, cable routing, monitor position, heat clearance, and service access. | Organizes instrument and computer work in one area |
Selection note: Worktop resistance varies by material, finish, concentration, temperature, and exposure duration. Check chemical-compatibility data and applicable laboratory, accessibility, and safety requirements for the intended installation.
Laboratory desks serve different tasks, from careful note-taking to supporting heavy instruments.
Fit matters.
Choose by task, room layout, cleaning needs, and equipment load—not appearance alone. An instrument desk may need vibration control, while a mobile unit needs secure brakes and manageable storage. Check clearances around sinks, doors, and emergency routes. A desk labeled chemical-resistant is not suitable for every substance; verify material compatibility with reliable technical documentation. It is easy to underestimate cable space, too.
Tips: Measure the largest instrument before ordering. Check the stated load capacity. Keep writing surfaces separate from splash-prone tasks when possible. A perfect desk rarely exists; reassess the layout after people use it for a few weeks.
A laboratory desk should match the work, not just the room. For routine weighing and paperwork, a chemical-resistant laminate top may be practical and easy to wipe. For solvent handling or frequent hot-equipment use, epoxy resin offers a more durable surface. Stainless steel suits wet, cleanable areas, but chlorides and some acids can damage it. Check the specific chemical-compatibility chart before choosing. No surface is universal.
Small details matter. A raised lip can help contain drips near a sink, while a smooth, sealed edge is easier to clean. Polypropylene can resist many acids and bases, but it has lower heat tolerance than some alternatives. Keep hot plates on suitable heat-resistant protection. For microscopy or electronics, prioritize a rigid frame and low-vibration positioning. Drawers help with tools, but they can crowd knee space.
The U.S. Department of Energy’s Better Buildings laboratory guidance reports that labs may use five to ten times more energy per square foot than offices. That figure makes efficient task zoning worthwhile: place frequently used equipment near services, without blocking airflow or access. Still, the most resistant worktop can fail if seams are poorly sealed or spills sit unnoticed. The chart is not the whole story. Check maintenance routines and actual task conditions before specifying a desk.
A laboratory desk must do more than hold equipment. It should support safe work, withstand daily cleaning, and keep essential tools within reach. Before comparing designs, map the tasks performed at each station. A technician weighing samples needs a stable, level surface; a microscope user may need reduced vibration and extra elbow room. Small details matter. Check load ratings, rounded edges, chemical resistance, and whether drawers obstruct knees or emergency access.
Durability depends on materials and maintenance. Nonporous worktops are generally easier to wipe down, while sealed seams can help limit fluid entry. But “chemical resistant” does not mean resistant to every substance. Check compatibility with the disinfectants and materials used in your lab. Inspect frame joints and adjustable feet, too. A desk that rocks when equipment runs or shifts as a drawer opens can disrupt work. Route cables away from sinks and walkways, and keep emergency stations accessible.
Efficiency comes from fit, not extra features. Set desk height for the task, place frequently used items within easy reach, and choose storage that separates clean supplies from waste. Test the layout with actual equipment before ordering multiple desks. This step is easy to overlook. A polished worktop can still feel awkward after a long shift. Reassess the arrangement when procedures change; no desk stays ideal forever.