Leave Your Message

How to Choose the Best Laboratory Faucet

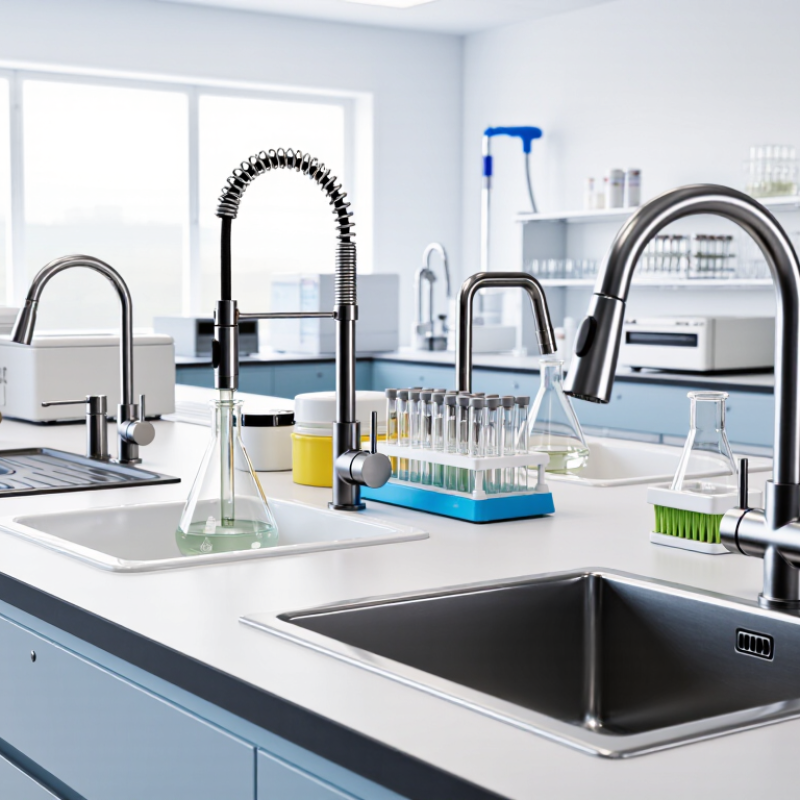
Choosing the best Laboratory Faucet is not a simple matter of comparing prices or polished finishes. In a working laboratory, the faucet must support safe routines, accurate cleaning, and comfortable daily use. A technician may operate it with gloved hands while holding a sample container. Small design details can prevent spills, splashes, and unnecessary contact with the fixture.

Start by examining the laboratory’s water quality, installation layout, and work practices. A faucet used beside a sink for routine washing may need different features from one serving analytical equipment. Look for corrosion-resistant materials, dependable valves, suitable flow control, and an outlet that reaches the basin without causing turbulence. Gooseneck spouts can help fill tall flasks, but they may feel awkward in compact workstations. That trade-off matters.

Hands-free controls, wrist handles, or elbow-operated designs can reduce cross-contamination during busy procedures. However, sensor faucets also require reliable power, correct calibration, and regular maintenance. Convenience is not always simplicity. A poorly positioned sensor can activate when a user reaches across the sink, wasting water and interrupting work.

Professional selection should include product documentation, maintenance access, compatibility with local plumbing requirements, and evidence from reputable manufacturers. Ask how seals, cartridges, and aerators perform after repeated exposure to moisture and cleaning agents. The most attractive model may not be the most durable one. Real laboratory experience often reveals weaknesses that photographs hide. Consider replacement parts, service support, and the total cost over years, not only the purchase price. A careful choice protects workflow, equipment, and user confidence.

How to Choose the Best Laboratory Faucet

Define Laboratory Tasks and Water Requirements Before Comparing Faucet Types

How to Choose the Best Laboratory Faucet

Define Laboratory Tasks and Water Requirements Before Comparing Faucet Types

A laboratory faucet should match the work performed at the sink. Start by listing daily tasks, such as washing glassware, filling containers, or rinsing samples. Each task can require a different flow rate, outlet height, or water quality. A tall, rotating spout helps fill deep flasks, while a shorter outlet may suit routine handwashing. Do not assume one faucet design fits every room. I once prioritized appearance over reach, and the sink became awkward for larger vessels.

Identify the water source before reviewing faucet materials or controls. Potable water may support cleaning, but sensitive procedures can need filtered, deionized, or purified water. These supplies should use compatible connections and clearly separated outlets. Check temperature needs, pressure limits, drainage, and expected use frequency. A high-flow outlet may save time, but it can also create splashing around electrical equipment.

Tips: Observe the sink during a normal work period. Measure the tallest container and the faucet’s full swing. Ask technicians where water actually contacts the bench. Record whether users need knee, elbow, or hands-free controls. Confirm material compatibility with cleaning agents and local installation requirements. This practical check often reveals problems that product tables miss. Requirements may change later. Leave room for adjustment.
Check ASME A112.18.1 Compliance for Plumbing Supply Fittings

A laboratory faucet must do more than deliver water. Check whether its plumbing supply fittings comply with ASME A112.18.1, the standard covering plumbing supply fittings. Ask for documentation that identifies the exact faucet model and applicable certification. A product-page claim alone may not show which parts were evaluated. Keep the paperwork with purchasing and maintenance records.

Look closely at the connection points. Note the inlet size, mounting arrangement, and working pressure stated in the technical sheet. These details help your plumber confirm the faucet suits the existing supply lines. Compliance matters, but it is not the whole decision. The standard does not establish that a faucet resists every laboratory chemical or suits every cleaning routine. Check materials against the substances used near the sink, and follow the manufacturer’s care instructions. A quick inspection helps.

Before ordering, ask who can verify the certification and whether replacement parts remain available. If the documentation is unclear, pause and request clarification rather than relying on a broad “compliant” label. I have seen specifications look reassuring while leaving practical questions unanswered. That extra check can save a difficult retrofit.

Verify NSF/ANSI/CAN 61 Certification for Potable-Water Contact

How to Choose the Best Laboratory Faucet

When a laboratory faucet touches drinking water, appearance is not enough. Verify NSF/ANSI/CAN 61 certification before comparing finishes, handles, or mounting options. This standard evaluates materials that contact potable water and helps control harmful chemical leaching. Ask for a current certificate, not only a printed claim on a product page.

Check the exact faucet model and its wetted components. The body, cartridge, seals, spout, and flexible connectors may all require review. Certification can apply to specific configurations, materials, or water-contact conditions. A faucet may look compliant but lack coverage for an added hose or accessory. That detail is easy to miss.

Look for the certification scope, testing organization, issue date, and model number. Compare them with the supplier’s technical documents. During installation, flush the line according to project requirements, then inspect joints for leaks and unusual odors. Keep the certificate with maintenance records. It supports later audits and replacement decisions.

I have seen teams focus too heavily on polished metal and overlook internal seals. That choice can create avoidable uncertainty. In a busy laboratory, clear documentation saves time. Still, certification is not a substitute for proper installation or local plumbing requirements. Check both. A careful review feels slower, but it is usually cheaper than correcting an unsuitable potable-water connection.

Match Materials and Finishes to Chemical Exposure and Cleaning Needs

A laboratory faucet should be selected for the chemicals it actually encounters, not just its appearance. List routine reagents, concentrations, temperatures, and contact times, including splashes around the handle and spout. Stainless steel, coated metals, and polymers each respond differently to acids, solvents, and oxidizers. Compatibility depends on the exact formulation. Small details matter.

US$2.5 trillion
The NACE IMPACT study, conducted with C&M Associates, estimated global corrosion costs in 2013.

The NACE IMPACT study, conducted with C&M Associates, estimated global corrosion costs at US$2.5 trillion in 2013, or about 3.4% of global GDP. That broad estimate is not specific to laboratory faucets, but it shows why corrosion resistance deserves attention. For a closer assessment, ASTM G31 describes laboratory immersion testing; ask whether material data reflect conditions similar to your own chemicals and temperatures. A generic “chemical resistant” claim is not enough.

Finishes also affect cleaning. A smooth, intact surface is easier to wipe than a rough or chipped one, where residue can collect. Check approved cleaning agents and contact times against the faucet manufacturer’s technical documentation, and inspect finish edges during routine maintenance. Bleach-based cleaners can damage some metals, while abrasive pads may scratch protective coatings. We sometimes overfocus on the body material and overlook the handle. That is easy to miss. Choose a finish that tolerates both the exposure and the cleaning routine, then verify it with facilities or safety staff before installation.

Keep Emergency Eyewash Separate: ANSI/ISEA Z358.1 Requires 15-Minute Flushing

When choosing a laboratory faucet, treat routine water access and emergency eye flushing as separate functions. A faucet may fill a beaker, but it is not automatically an eyewash station. ANSI/ISEA Z358.1-2014 (R2020) specifies emergency eyewash performance, including a continuous, hands-free flow for at least 15 minutes. The standard also calls for tepid flushing fluid, generally 16–38°C (60–100°F). That temperature range matters: water that is painfully cold or hot can discourage someone from completing the rinse. Fifteen minutes is a long time when eyes are irritated.

Placement matters too. ANSI/ISEA guidance calls for emergency equipment to be reachable within 10 seconds, on the same level, and along an unobstructed path. OSHA’s 29 CFR 1910.151(c) separately requires suitable facilities for quick drenching or flushing where corrosive materials may injure employees.

These references support a practical design choice: select a faucet for durability, control, and cleaning needs, then provide a compliant eyewash where the hazard assessment requires one. Check access with the room’s actual layout, not just a floor plan. A cart or a half-open door can become an obstacle. The awkward part is maintenance: even a well-positioned station is unreliable if it is not tested and kept clear. Follow the manufacturer’s instructions and applicable standard for inspection and testing; don’t assume the sink faucet can serve as a substitute.